How to Organize End of the School Year School Papers and Art
The end of the school year is a time to celebrate your child’s achievements, but also a time to deal with the piles of school papers and art that have accumulated over the months. How do you decide what to keep and what to toss? How do you store the papers and art that you want to preserve? Here are some tips to help you organize your child’s school papers and art at the end of the school year.
Step 1: Sort and Purge
Before you can start organizing your child’s paperwork and art projects, you need to decide what to discard and what to keep. This can be a challenging task, especially if you or your child are sentimental about every scribble and worksheet. To make it easier, set some ground rules for what qualifies as a keeper. For example, you may want to keep:
All reports/research papers
A sample of handwriting from the beginning and end of the year
Favorite stories/poems
3-5 best artwork/craft pieces (take photos of the rest and discard)
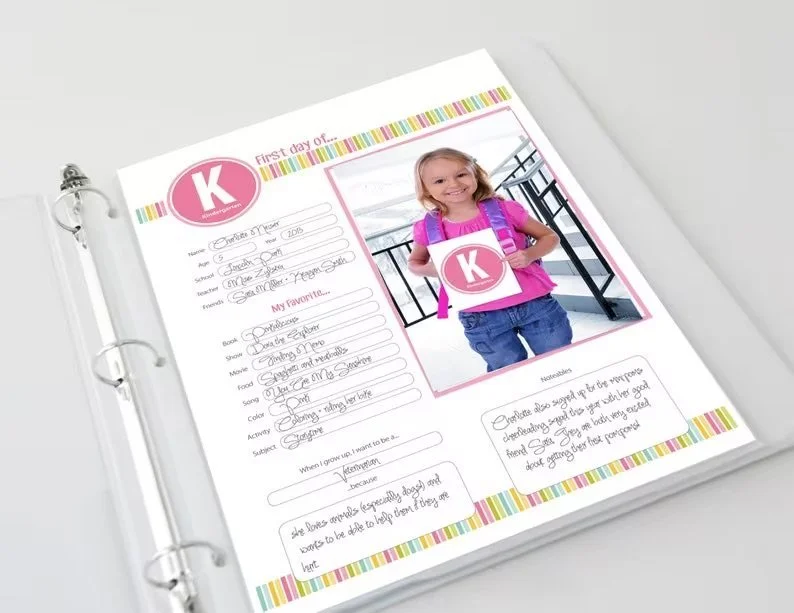
About me pages (from the beginning and end of the year)
Final report cards, test results, awards, attendance logs, list of curriculum used, etc.
You may also want to involve your child in the decision-making process, as they may have different opinions on what is important to them. However, be prepared to guide them and limit their choices, as they may want to keep everything.
Step 2: Choose a Storage System
Once you have sorted out the keepers from the tossers, you need to choose a storage system that works for your space and preferences. There are many options for storing your child’s school papers and art, such as:
A hanging file bin labeled by child and school year.
A 4" binder with clear page protectors and dividers-label one for each school year, or “primary, middle, and high school.
School Memories Keepsake Book in ETsy by Andrea Rees Design
A project case bin (good for artwork/crafts)labeled by activity or by year and stored them in a big bin
An artist’s portfolio (for larger artwork)
A scrapbook
Digitally (scan or take photos of the papers and art and store them on a cloud service or a hard drive) We recommend Artkive; you send them all the art you want to save, and they curate it and digitalize it. You can order a book of your Child's work you can also order a frame collage perfect to show off their year's work. Check them out here!
Whatever storage system you choose, make sure it is self-limiting, meaning that it can only hold a certain amount of papers and art. This will help you keep the volume of your school memorabilia in check and avoid clutter.
Step 3: Label and Organize
The next step is to label and organize your child’s school papers and art according to your chosen storage system. For example, if you are using a hanging file bin, create a labeled hanging file folder for each school grade and store papers within these folders. If you are using a binder, create dividers for each school year or category (such as math, science, art, etc.) and insert the papers into page protectors. If you are using a scrapbook, arrange the papers and art in a chronological or thematic order and add captions or stickers if desired.
The key is to make your storage system easy to access and navigate, so that you and your child can enjoy looking back at their school memories.
Step 4: Maintain and Update
The final step is to maintain and update your storage system regularly. Don’t wait until the end of the school year to sort through your child’s papers and art. Instead, set up a routine to review them weekly or monthly and decide what to keep or toss. You can also use a temporary storage container (such as a magazine holder or a basket) to collect the papers and art until you are ready to sort them.
Organizing your child’s school papers and art at the end of the school year doesn’t have to be overwhelming. By following these four steps, you can choose and create a storage system that works for you and your child. You can also preserve their school memories that reflects your child’s growth and achievements in a meaningful way that they can cherish for years to come.


